UPDI Tools
What is UPDI?
UPDI is an atmel / microchip proprietary programming interface, much like JTAG/SWD used in ARM chips with CMSIS-DAP tools. It’s the default programming mode for some of the new AVR microcontrollers we like, namely the ATTINY412 and ATTINY1614. Also! It only requires one pin to use: nice.
Thanks to Rob Hart for assembling a draft of this guide.
UPDI Devices
For UPDI programming find a Serial-to-USB converter. There are three options:
Off-the-shelf Converter
UPDI is also special in that it can use off-the-shelf Serial-to-USB converters - these are devices that speak USB on one end and boring old UART (serial, clockless TTL) on the other. These things are fairly ubiquitous.
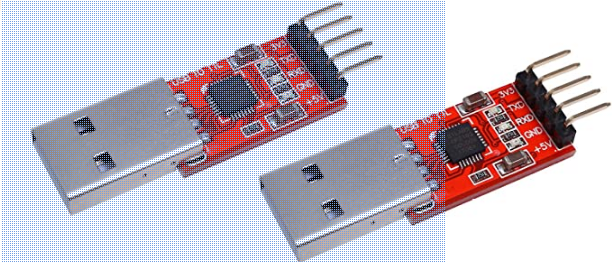
See Spence Konde’s step-by-step guide to turn a serial adapter into a UPDI programmer. TL;DR - Put a 5K resistor (or better, a diode) between RX and TX on the serial converter (unless there is already one on the target board), and connect RX directly to the UPDI pin of the microcontroller. Connect the grounds. Make sure the Tiny board is powered. You can use the 5V power from the Serial converter.
FTDI Cable as UPDI
Odds are you can find an FTDI cable in any makerspace / fab lab in the world. These are so common we often call any usb to serial converter an ‘FTDI cable’ - FTDI being a brand that makes a chip specifically for this purpose.
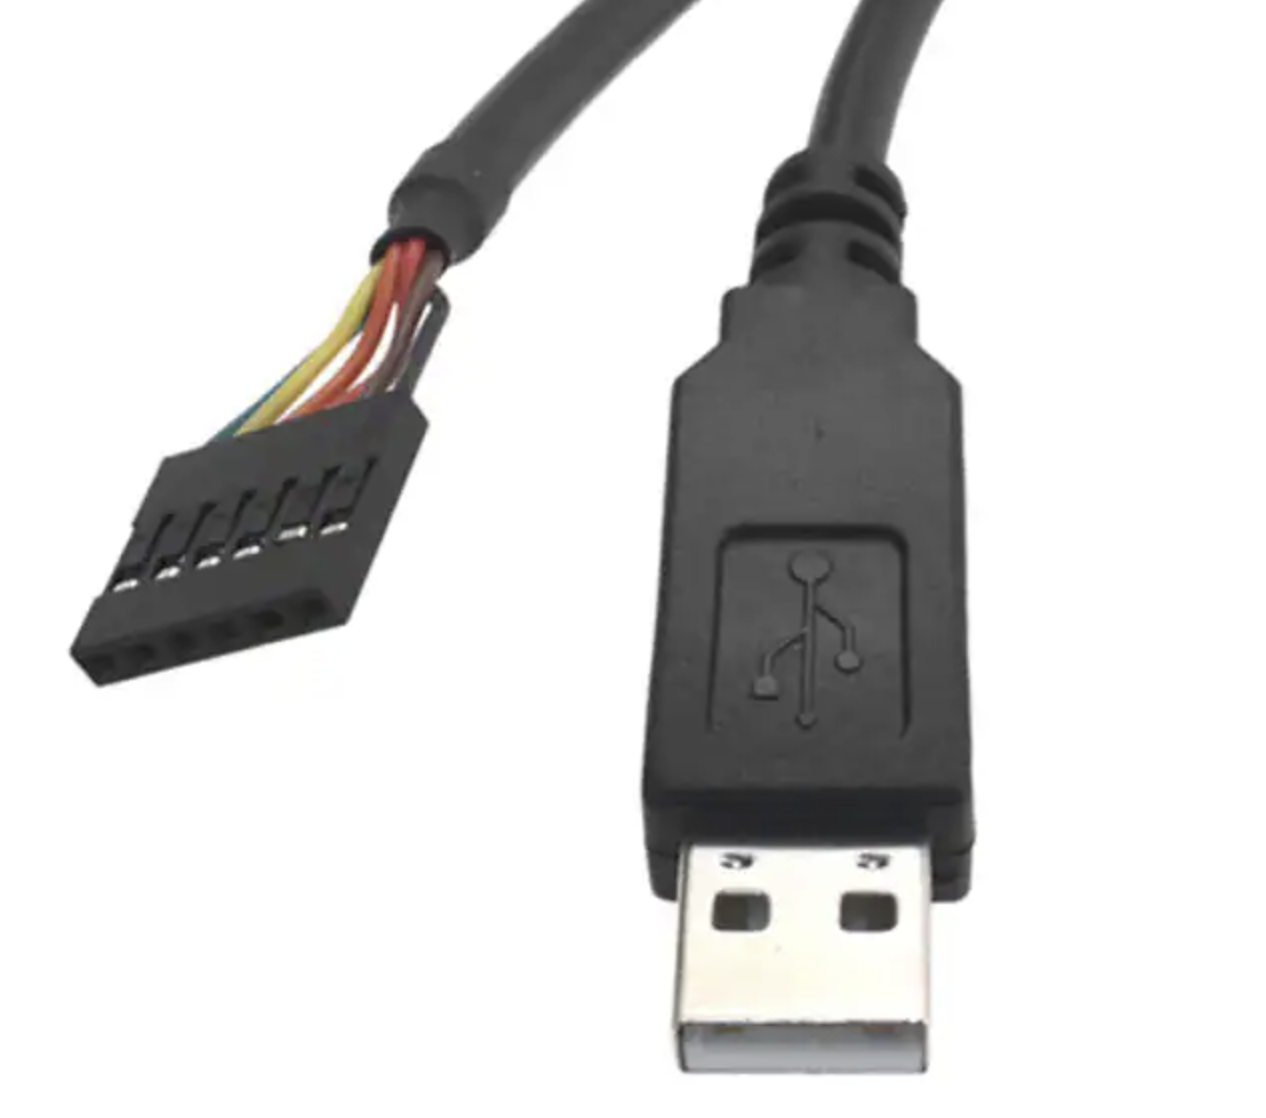
Keep in mind that these are available in +3v3 and +5v versions - if your chip is not 5v tolerant, you should be sure to use a 3v3 cable, but the ATTINY412 and ATTINY1614 are both 5v tolerant, so we don’t need to worry about it.
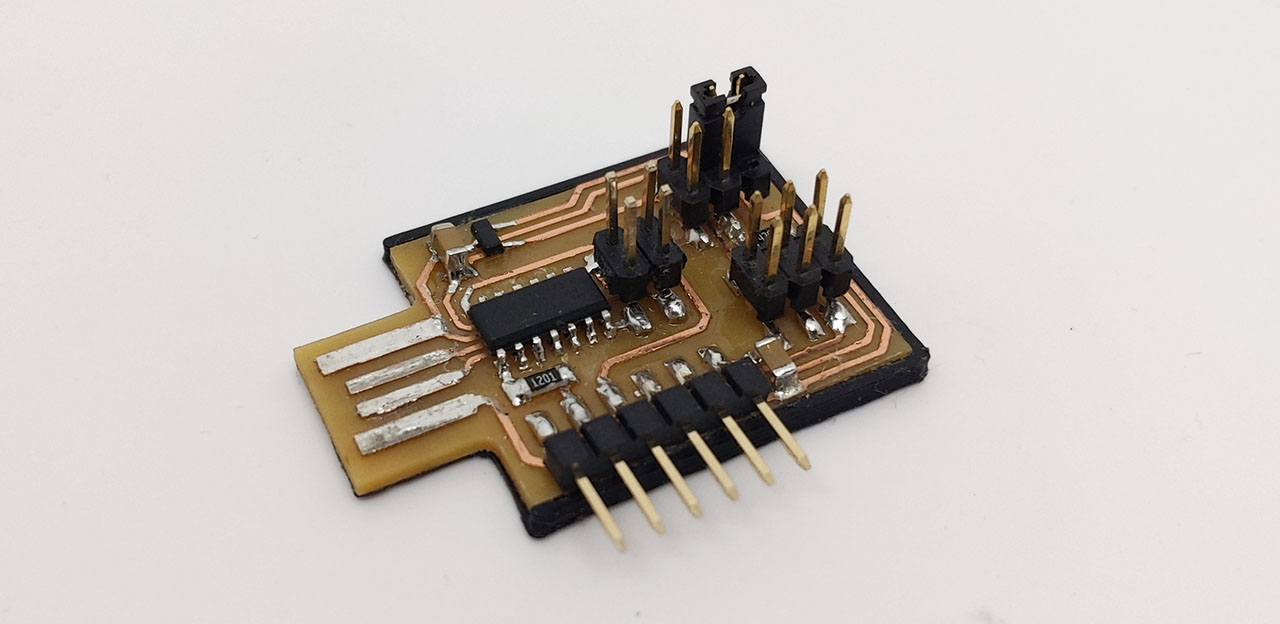
Fab FTDI
We can also make our own ‘FTDI’ board / usb to serial converter. I recommend using quentin’s design, which is well documented. It can be programmed using one of the cmsis-dap devices, and then using the arduino toolchain to load his serial firmware.
Programming with UPDI
In Arduino IDE, add this URL for the Konde megaTinyCore to the Preferences for additional boards: http://drazzy.com/package_drazzy.com_index.json. Then navigate to Tools > Board > Boards Manager and search for megaTinyCore. Install the package.
The tiny boards should show up in your board manager options. To program a board, attach your serial programmer to ground, UPDI, and to power if needed, and change the following settings:
- Select correct board
- Select programmer as
Serial-UPDI…...Slow 57600 baud
You should now be able to program from the Arduino IDE. Try the “blink” program with pin numbers appropriate to your board.