Platform.io Fab Toolchain
- The Benefits
- 1: Installing VSCode and Platform.io
- 2: Copy-lefting Schematics
- 3: Copy-lefting Bootloaders
- 4: Platform.io New Project
- 5: Pin Mapping
The Benefits
This one’s more of a hack, but I love it and use it for all kind of projects that use the ATSAMD21E18A and ATSAMD51J19A microcontrollers.
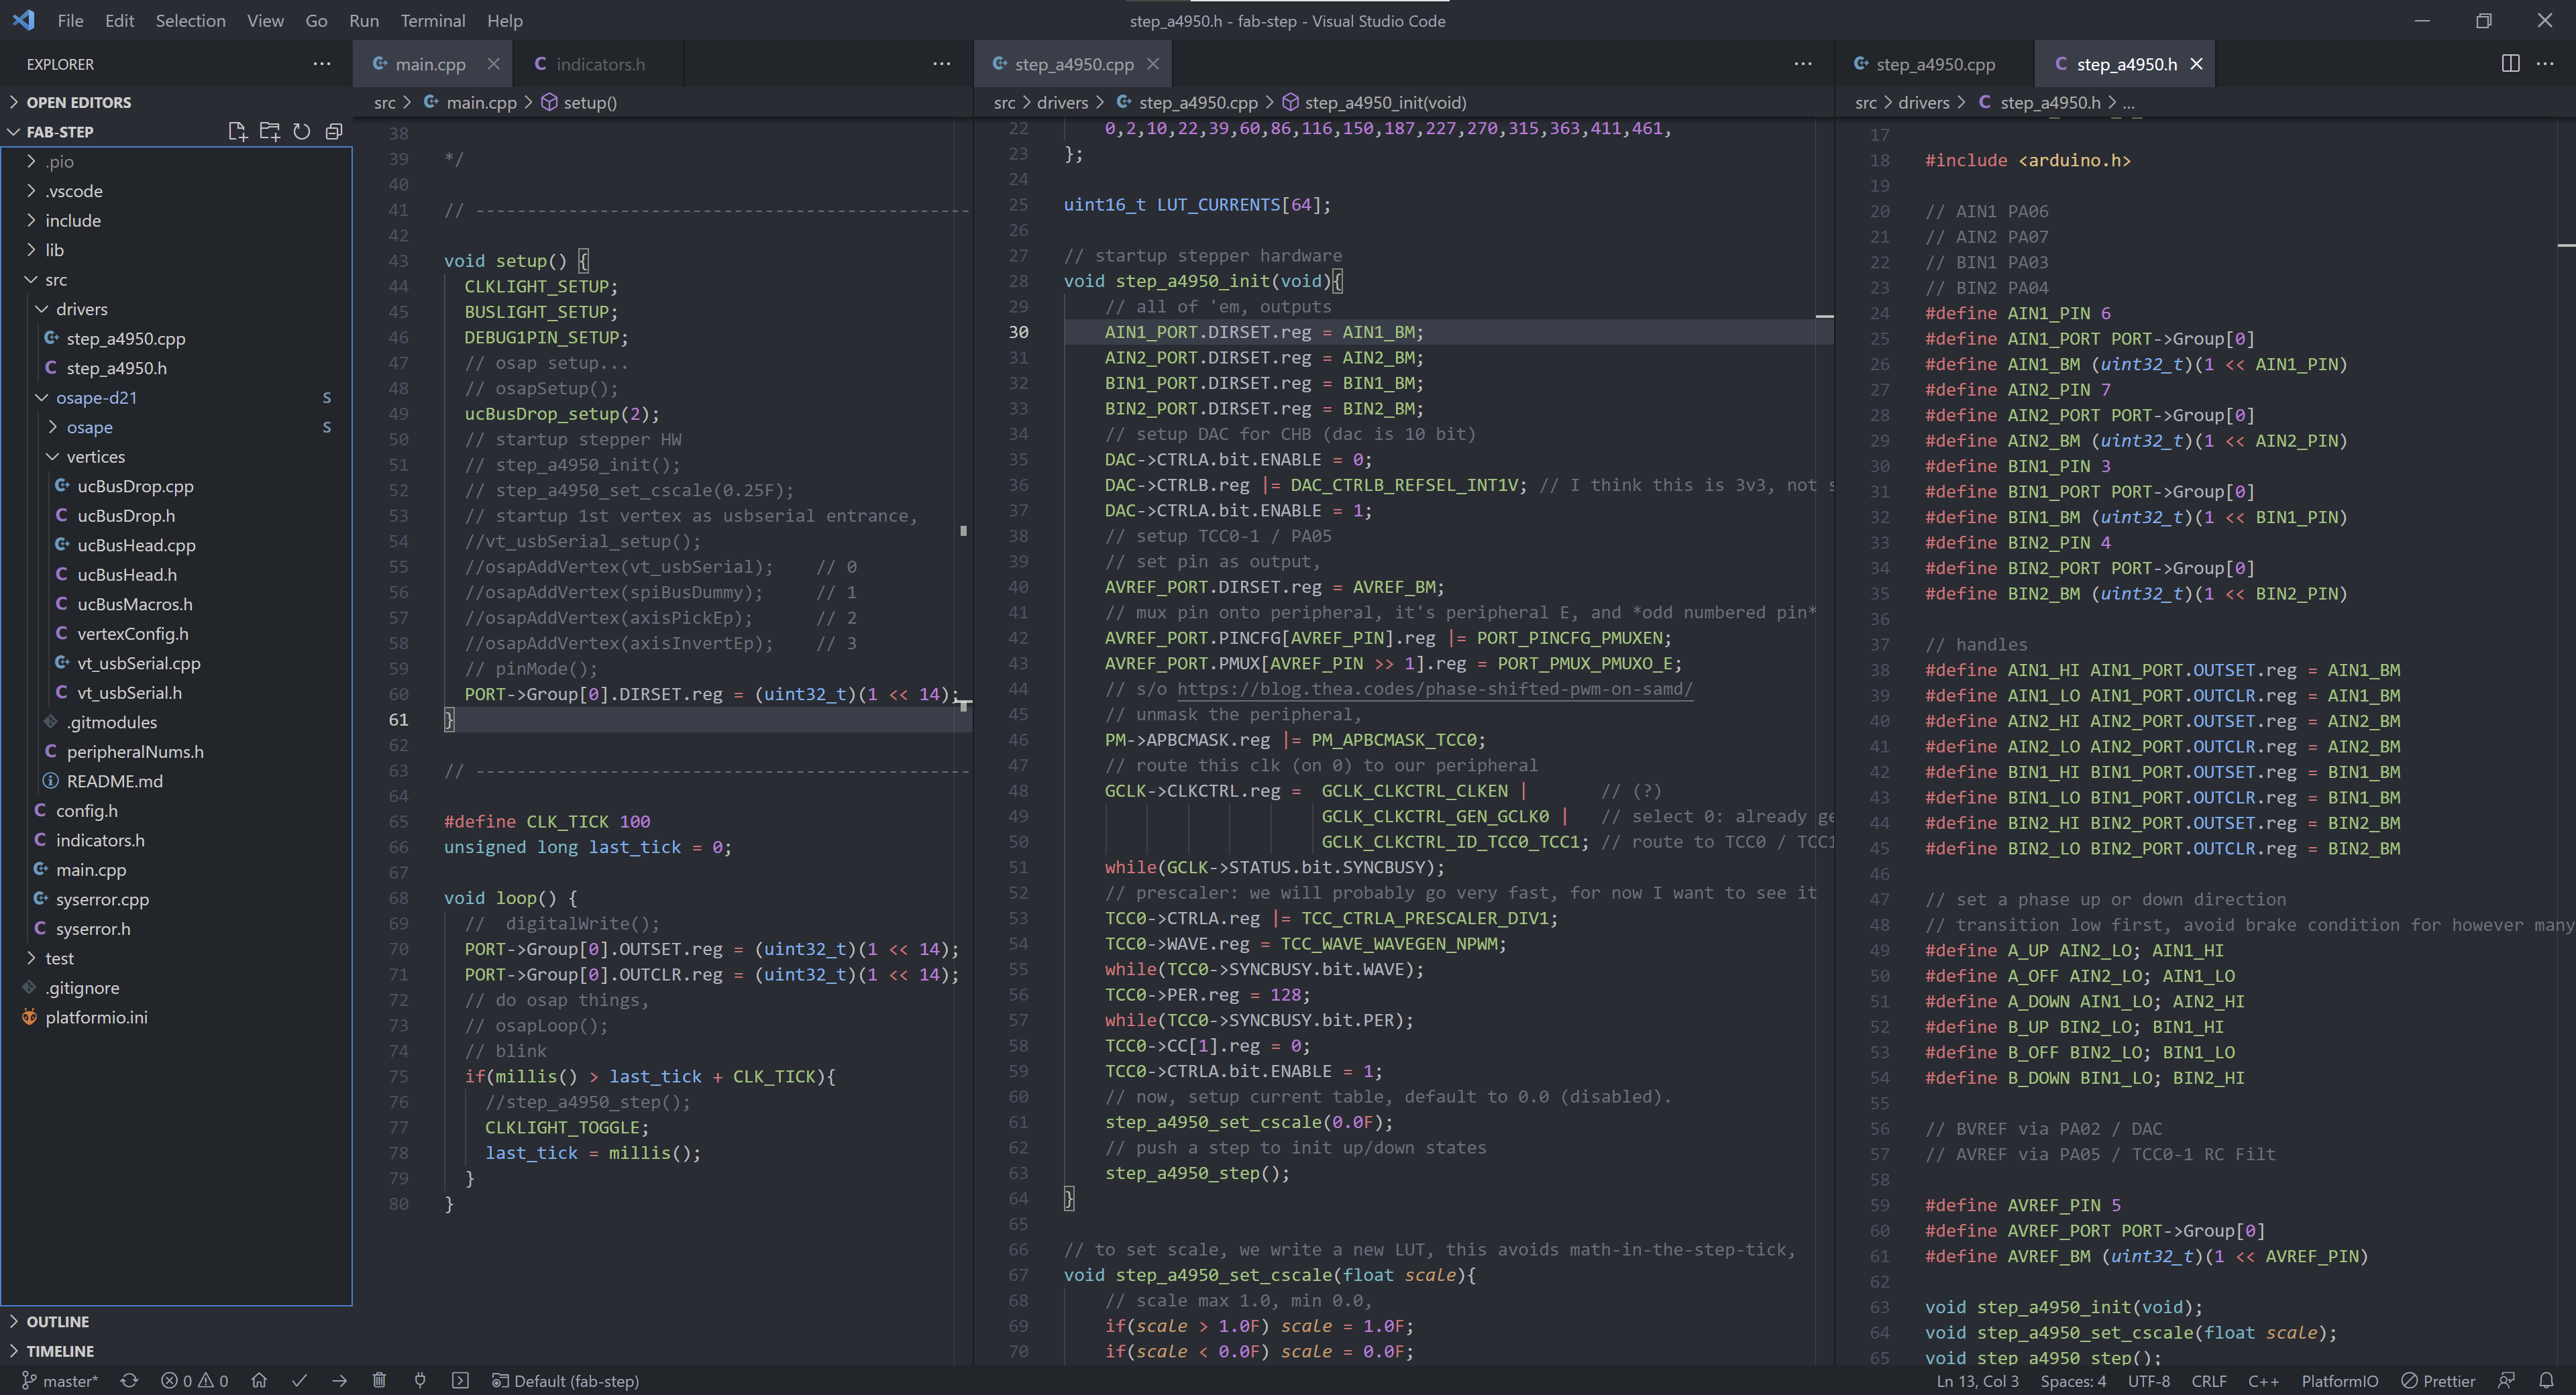
Most importantly, platform.io is a more mature build system than Arduino. Firstly, it is integrated into microsoft’s VSCode, a “code editor” / IDE that has roots in GitHub’s (who was purchased by microsoft, so…) Atom editor of similar flavour. For reasons (money), VSCode is the living remnant of Atom, which birthed lots of cool ideas about IDEs and was spiritually the Open Source version of Sublime Text, every hipster’s favourite code editor. VSCode is also open.
IDE lore notwithstanding, platform.io comes with lots of awesome stuff that Arduino doesn’t currently match. Namely, code complete courtesy of clang which is the big-guns real deal, and things like goto definition on right-click of some reference. These two things mean that we can write SFR accessing codes with much less pain than if we were to do it the old way (i.e. by throwing darts at the compiler while having the 2000-page datasheet taped over our eyes).
If any of this sounds exciting, or if you just want the dark theme, carry on here.
1: Installing VSCode and Platform.io
Since they are well documented by the developers, I’m not going to repeat anything here:
- install vscode
- install platform.io for vscode
- installs as extension of vscode
- also puts lots of build-system code on your computer, i.e.
cmakeandclangIIRC
2: Copy-lefting Schematics
The way platform.io works is by supporting “platforms” for embedded code development. In a more enlightened age this statement might become more complicated, for now it means support for a list of boards (dev boards like arduinos, ESPs, etc) that are compiled and programmed via frameworks (arduino, mbed, etc). The build system is configurable and should allow assembly and automation of custom toolchains, but I have not invested enough time in the system to figure it out and what I will describe below already satiates my IDE desires.
So, we copy the schematic from some development board that we like (and that uses the same microcontroller as we would like to use) and include all of its basics in our new board. For example, here are the D21 and D51 basics that I use for these builds.
Keep in mind when you’re building these schematics that using (the current revision) of this guide means you’ll absorb pin mappings from the boards whose schematics we’re copying: if you go off piste and use pins that aren’t broken out on either dev board, you put yourself in SFR programming land. This is not as terrifying as you’d expect, and also is a really empowering skill to learn.
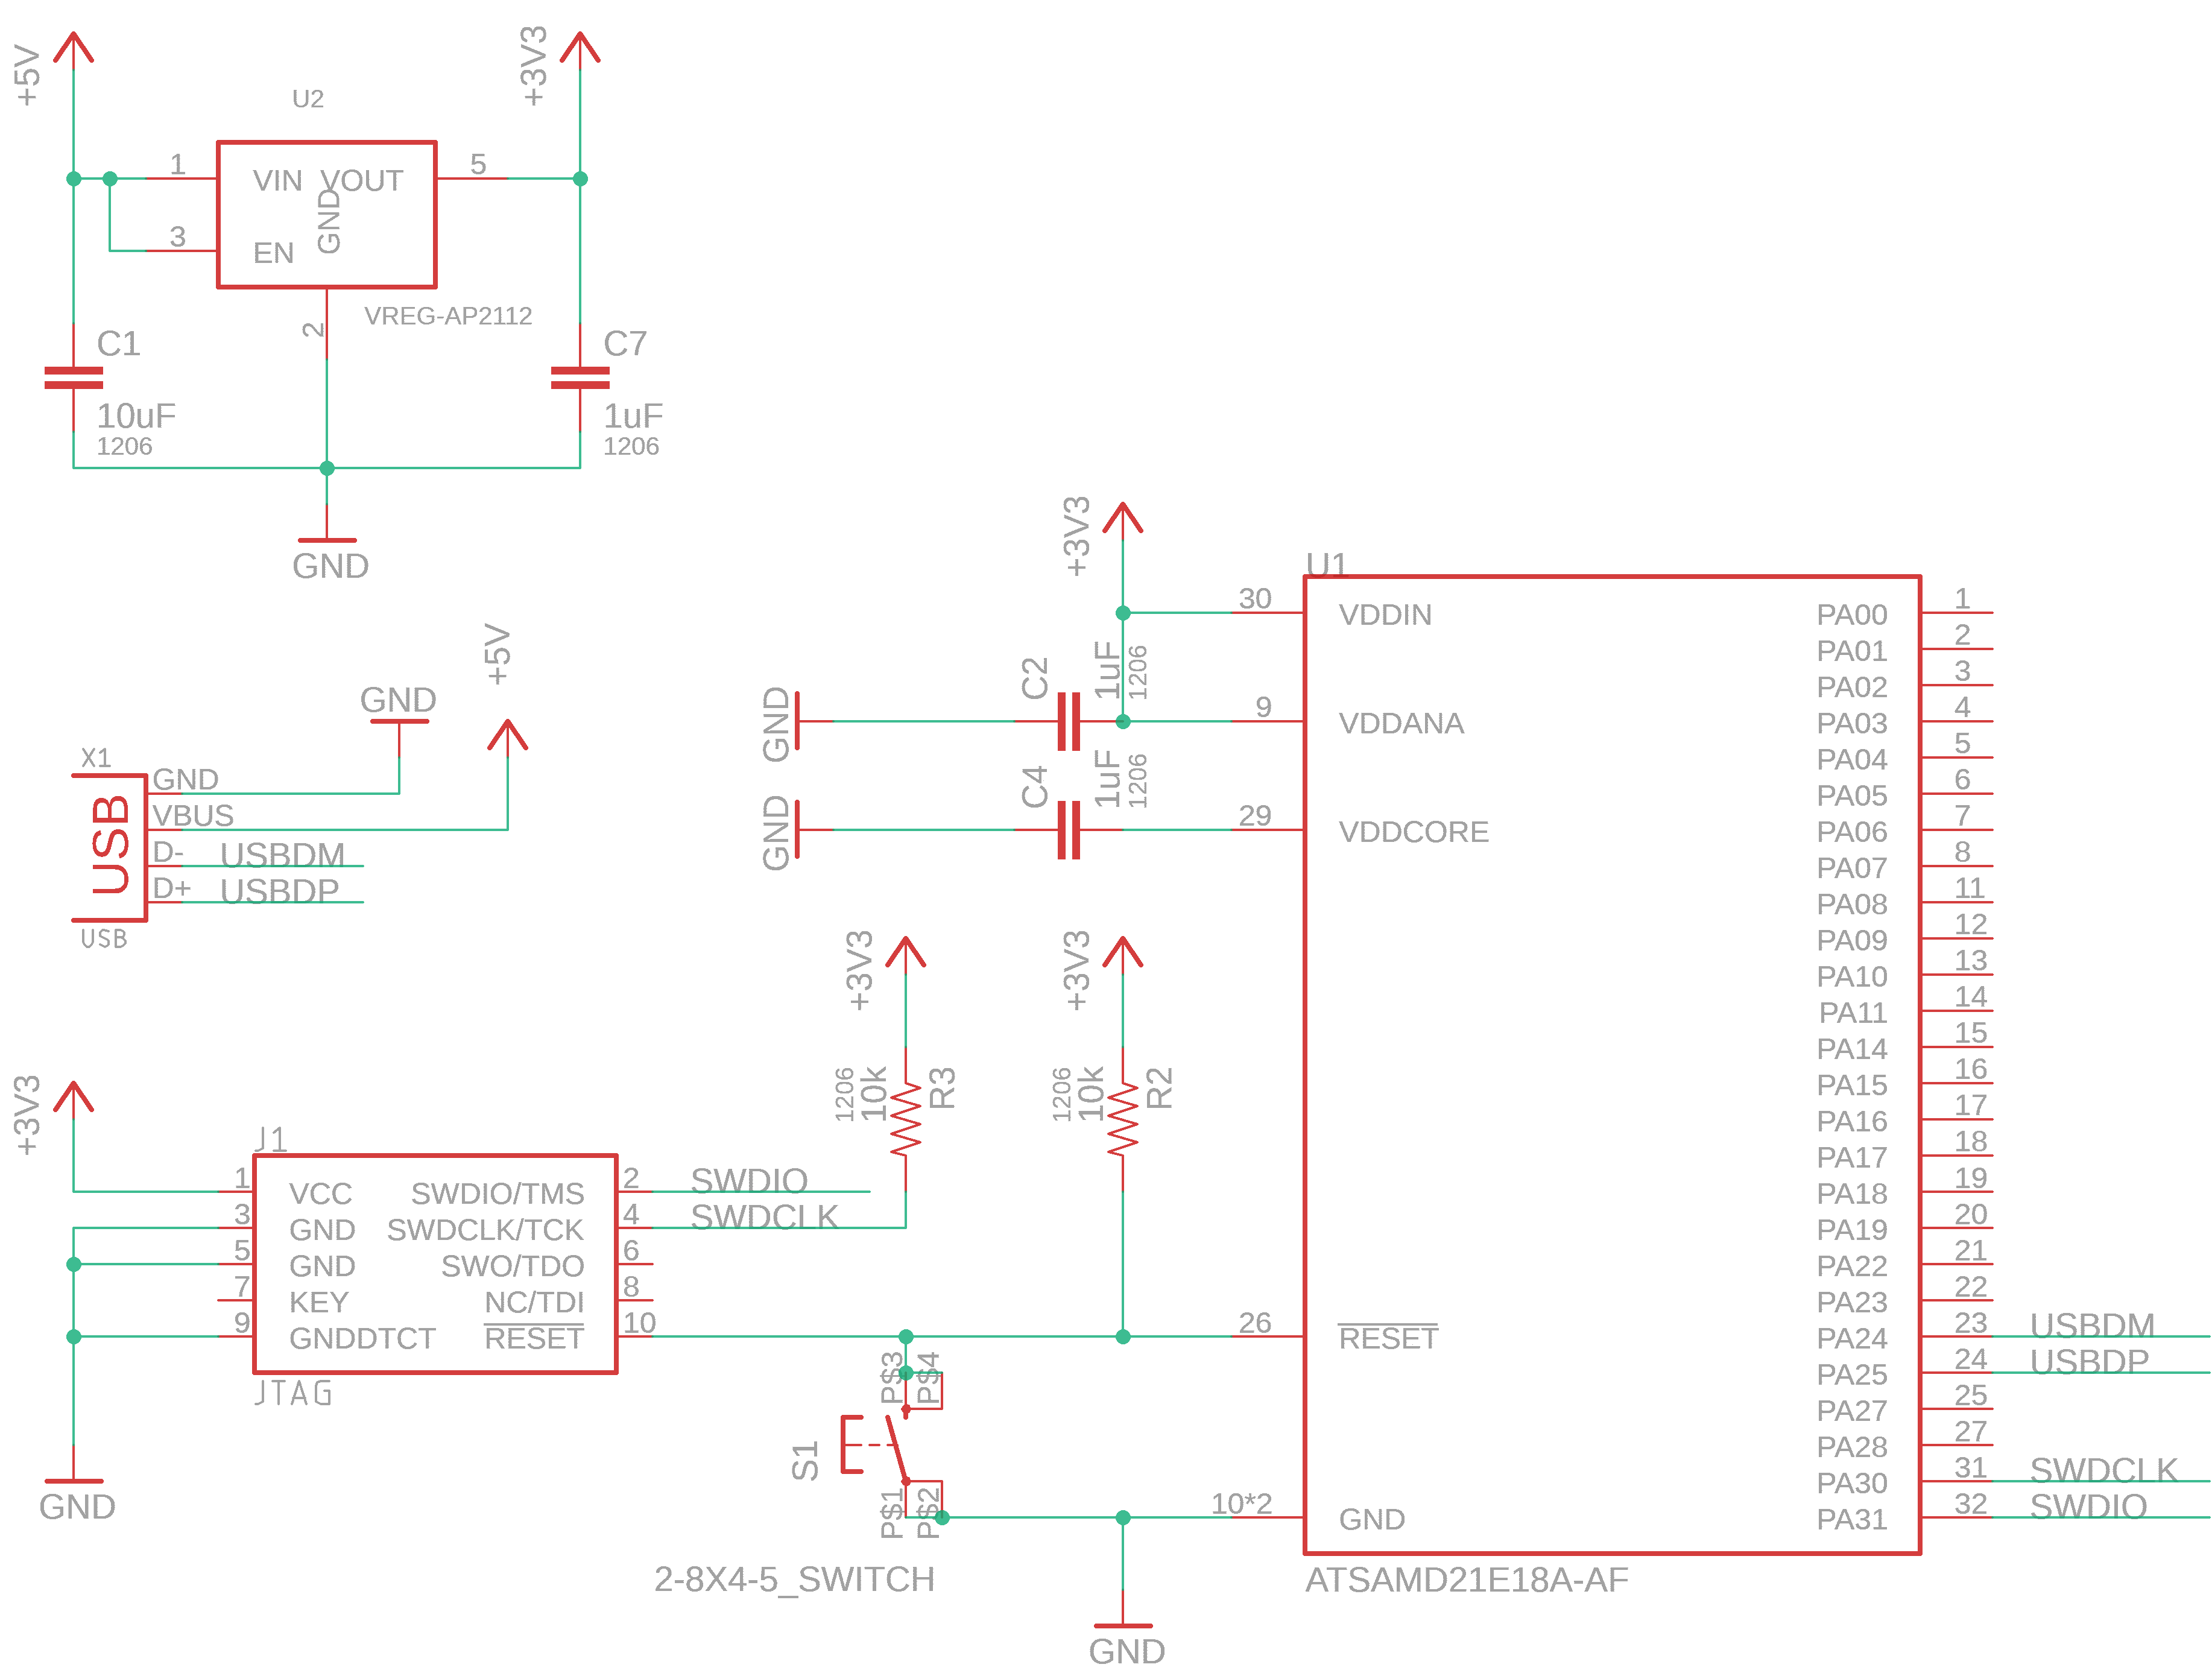
ATSAMD21E18A Barebones Schematic
This is the same as used in the fab arduino toolchain for the D21. I’ve pulled it from the adafruit gemma m0 - thanks ladyada!
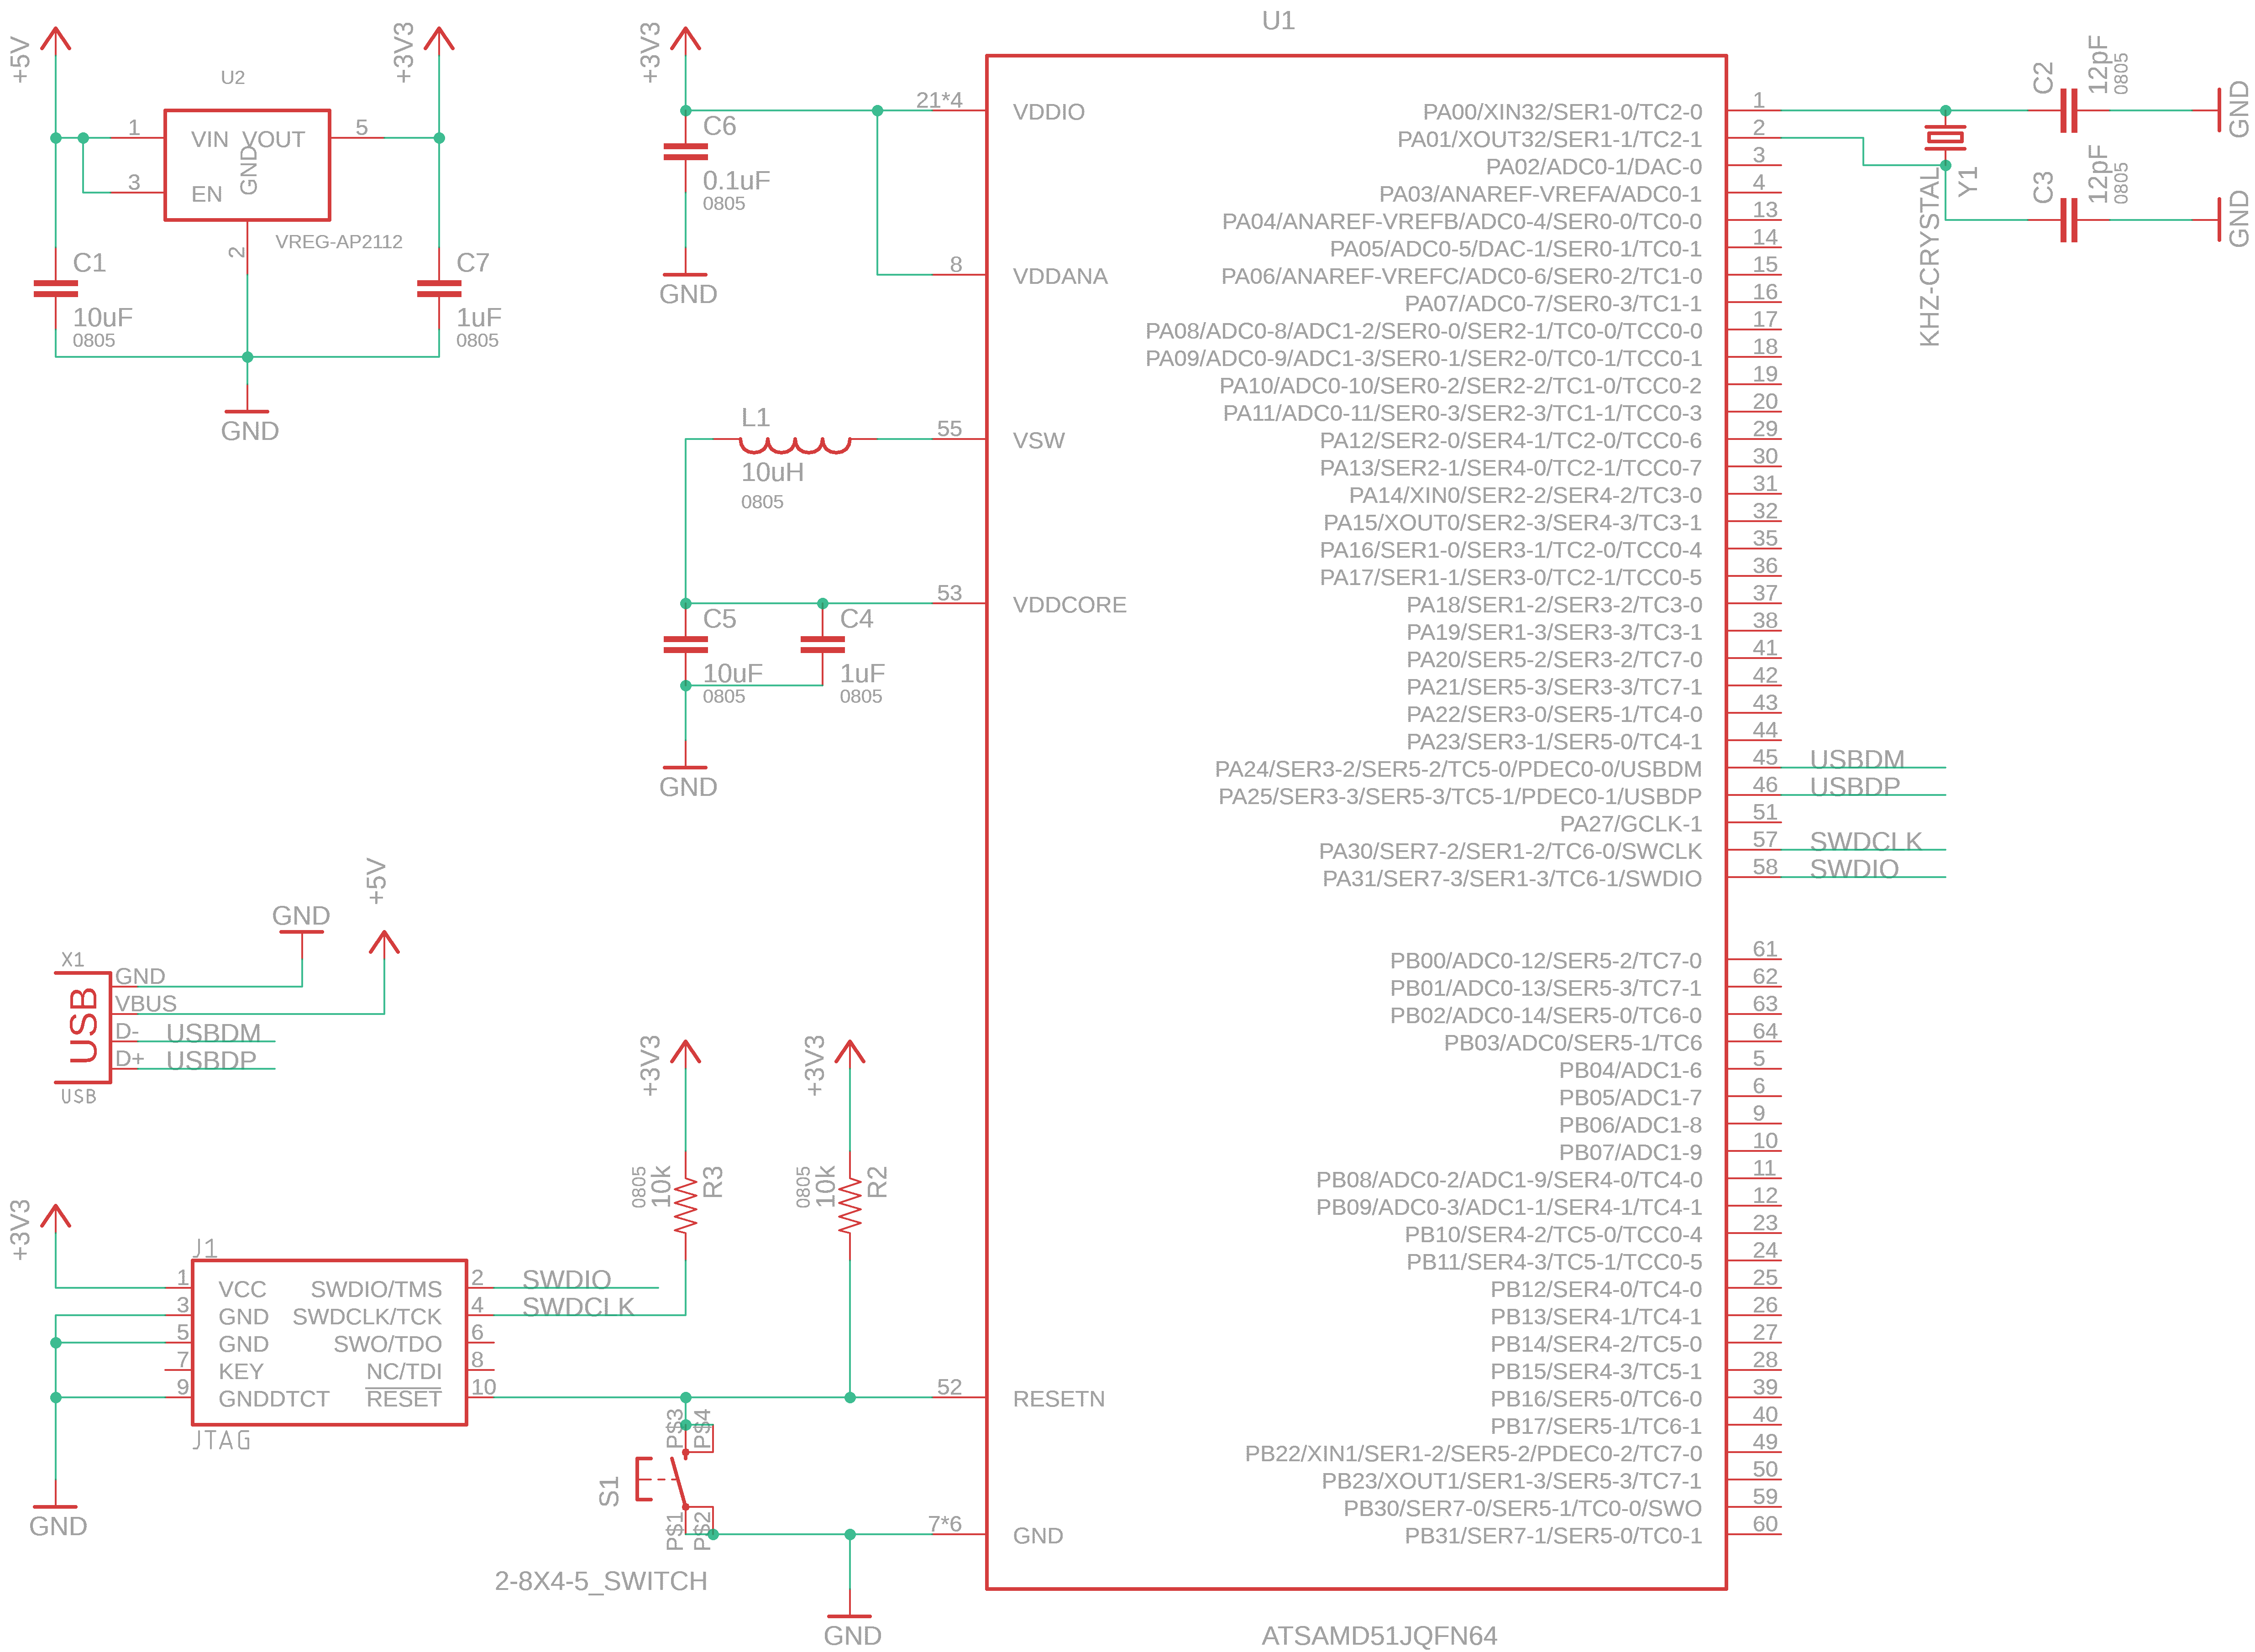
ATSAMD51J19A Barebones Schematic
The ATSAMD51J19A is basically a chunkier ATSAMD21: more speed, more memory.
The schematic is similar as well, but we include also a 32.768kHz crystal for the bootloader that we will use (which will not run w/o this crystal), and an inductor / capacitor structure for the core voltage, which runs sometimes on an internal regulator. This is also courtesy of ladyada, via the feather m4.
3: Copy-lefting Bootloaders
We also borrow bootloaders, and put them on the boards with one of the cmsis-dap tools, using edbg, pyOCD or openOCD to operate those tools. Conveniently these two boards’ binaries come from the same place, the uf2 bootloader set used by adafruit (making these boards circuitpython compatible as well). Release are maintained here for the latest, I’ll point you right at the current versions:
So, load those up and you’re ready to setup a platform.io project.
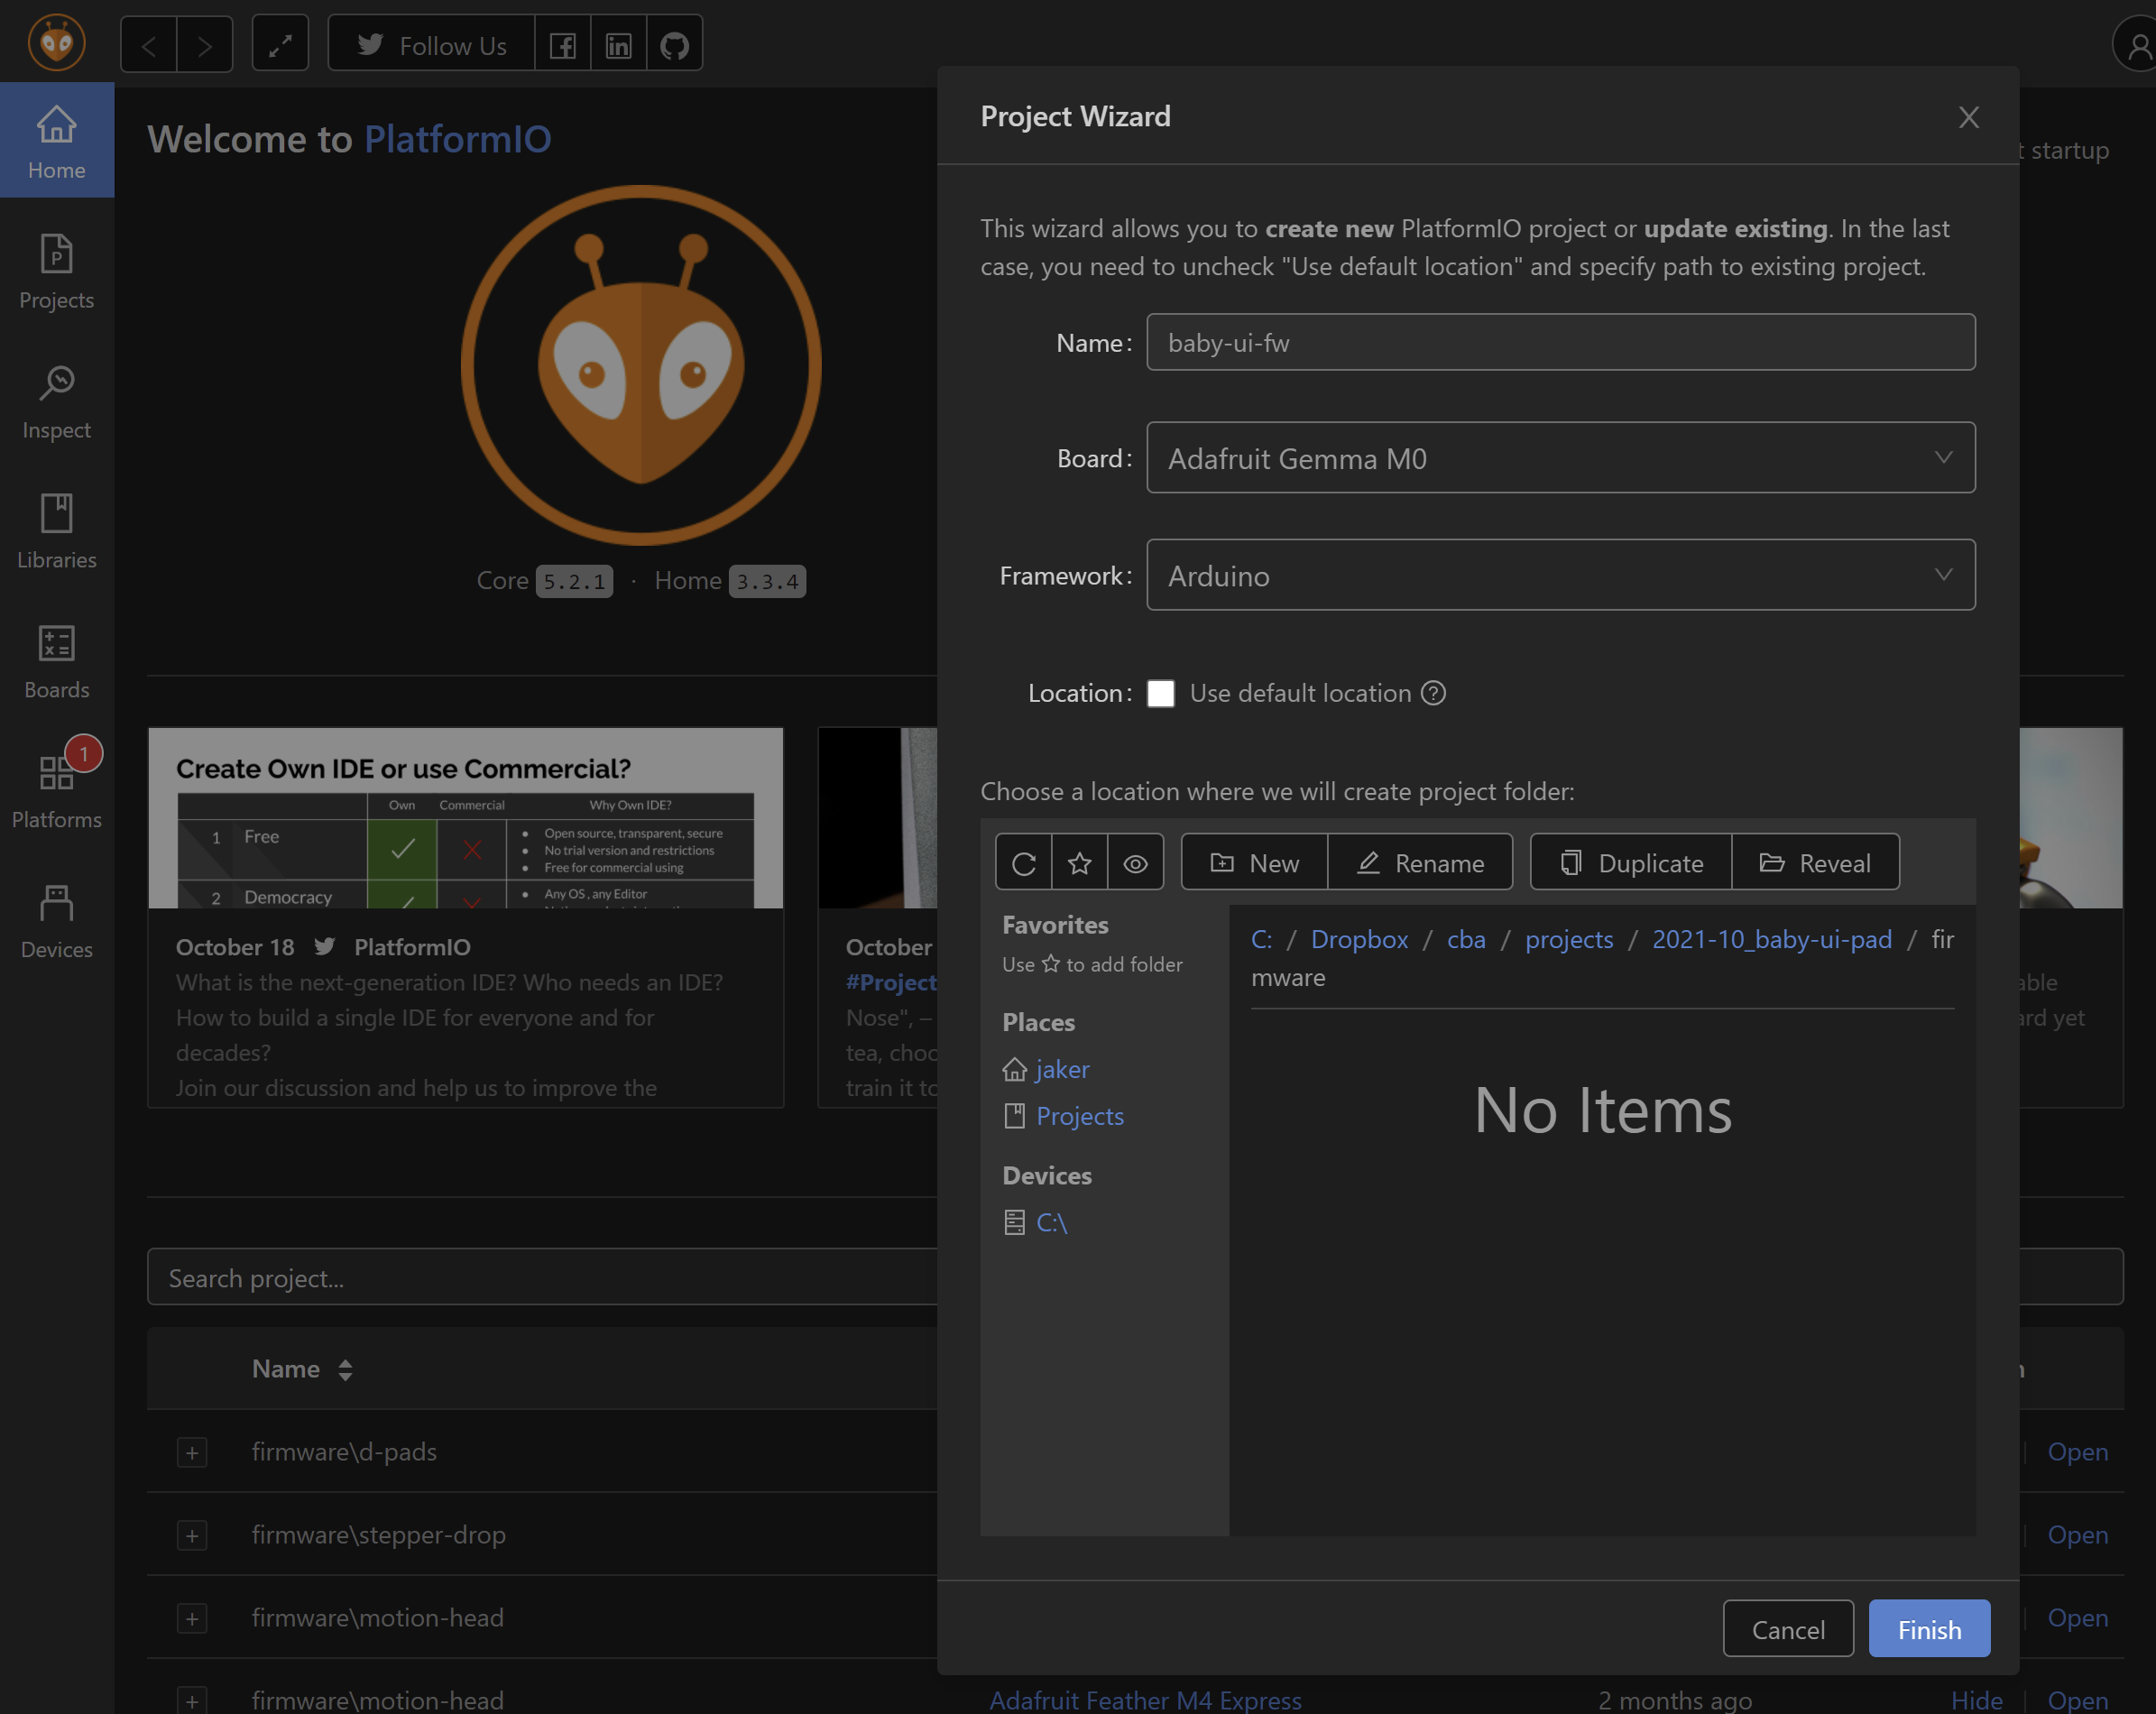
4: Platform.io New Project
Now you can open vscode and use ctrl + shift + p (on windows, maybe cmd + shift + p on OSX), type in PlatformIO: Home
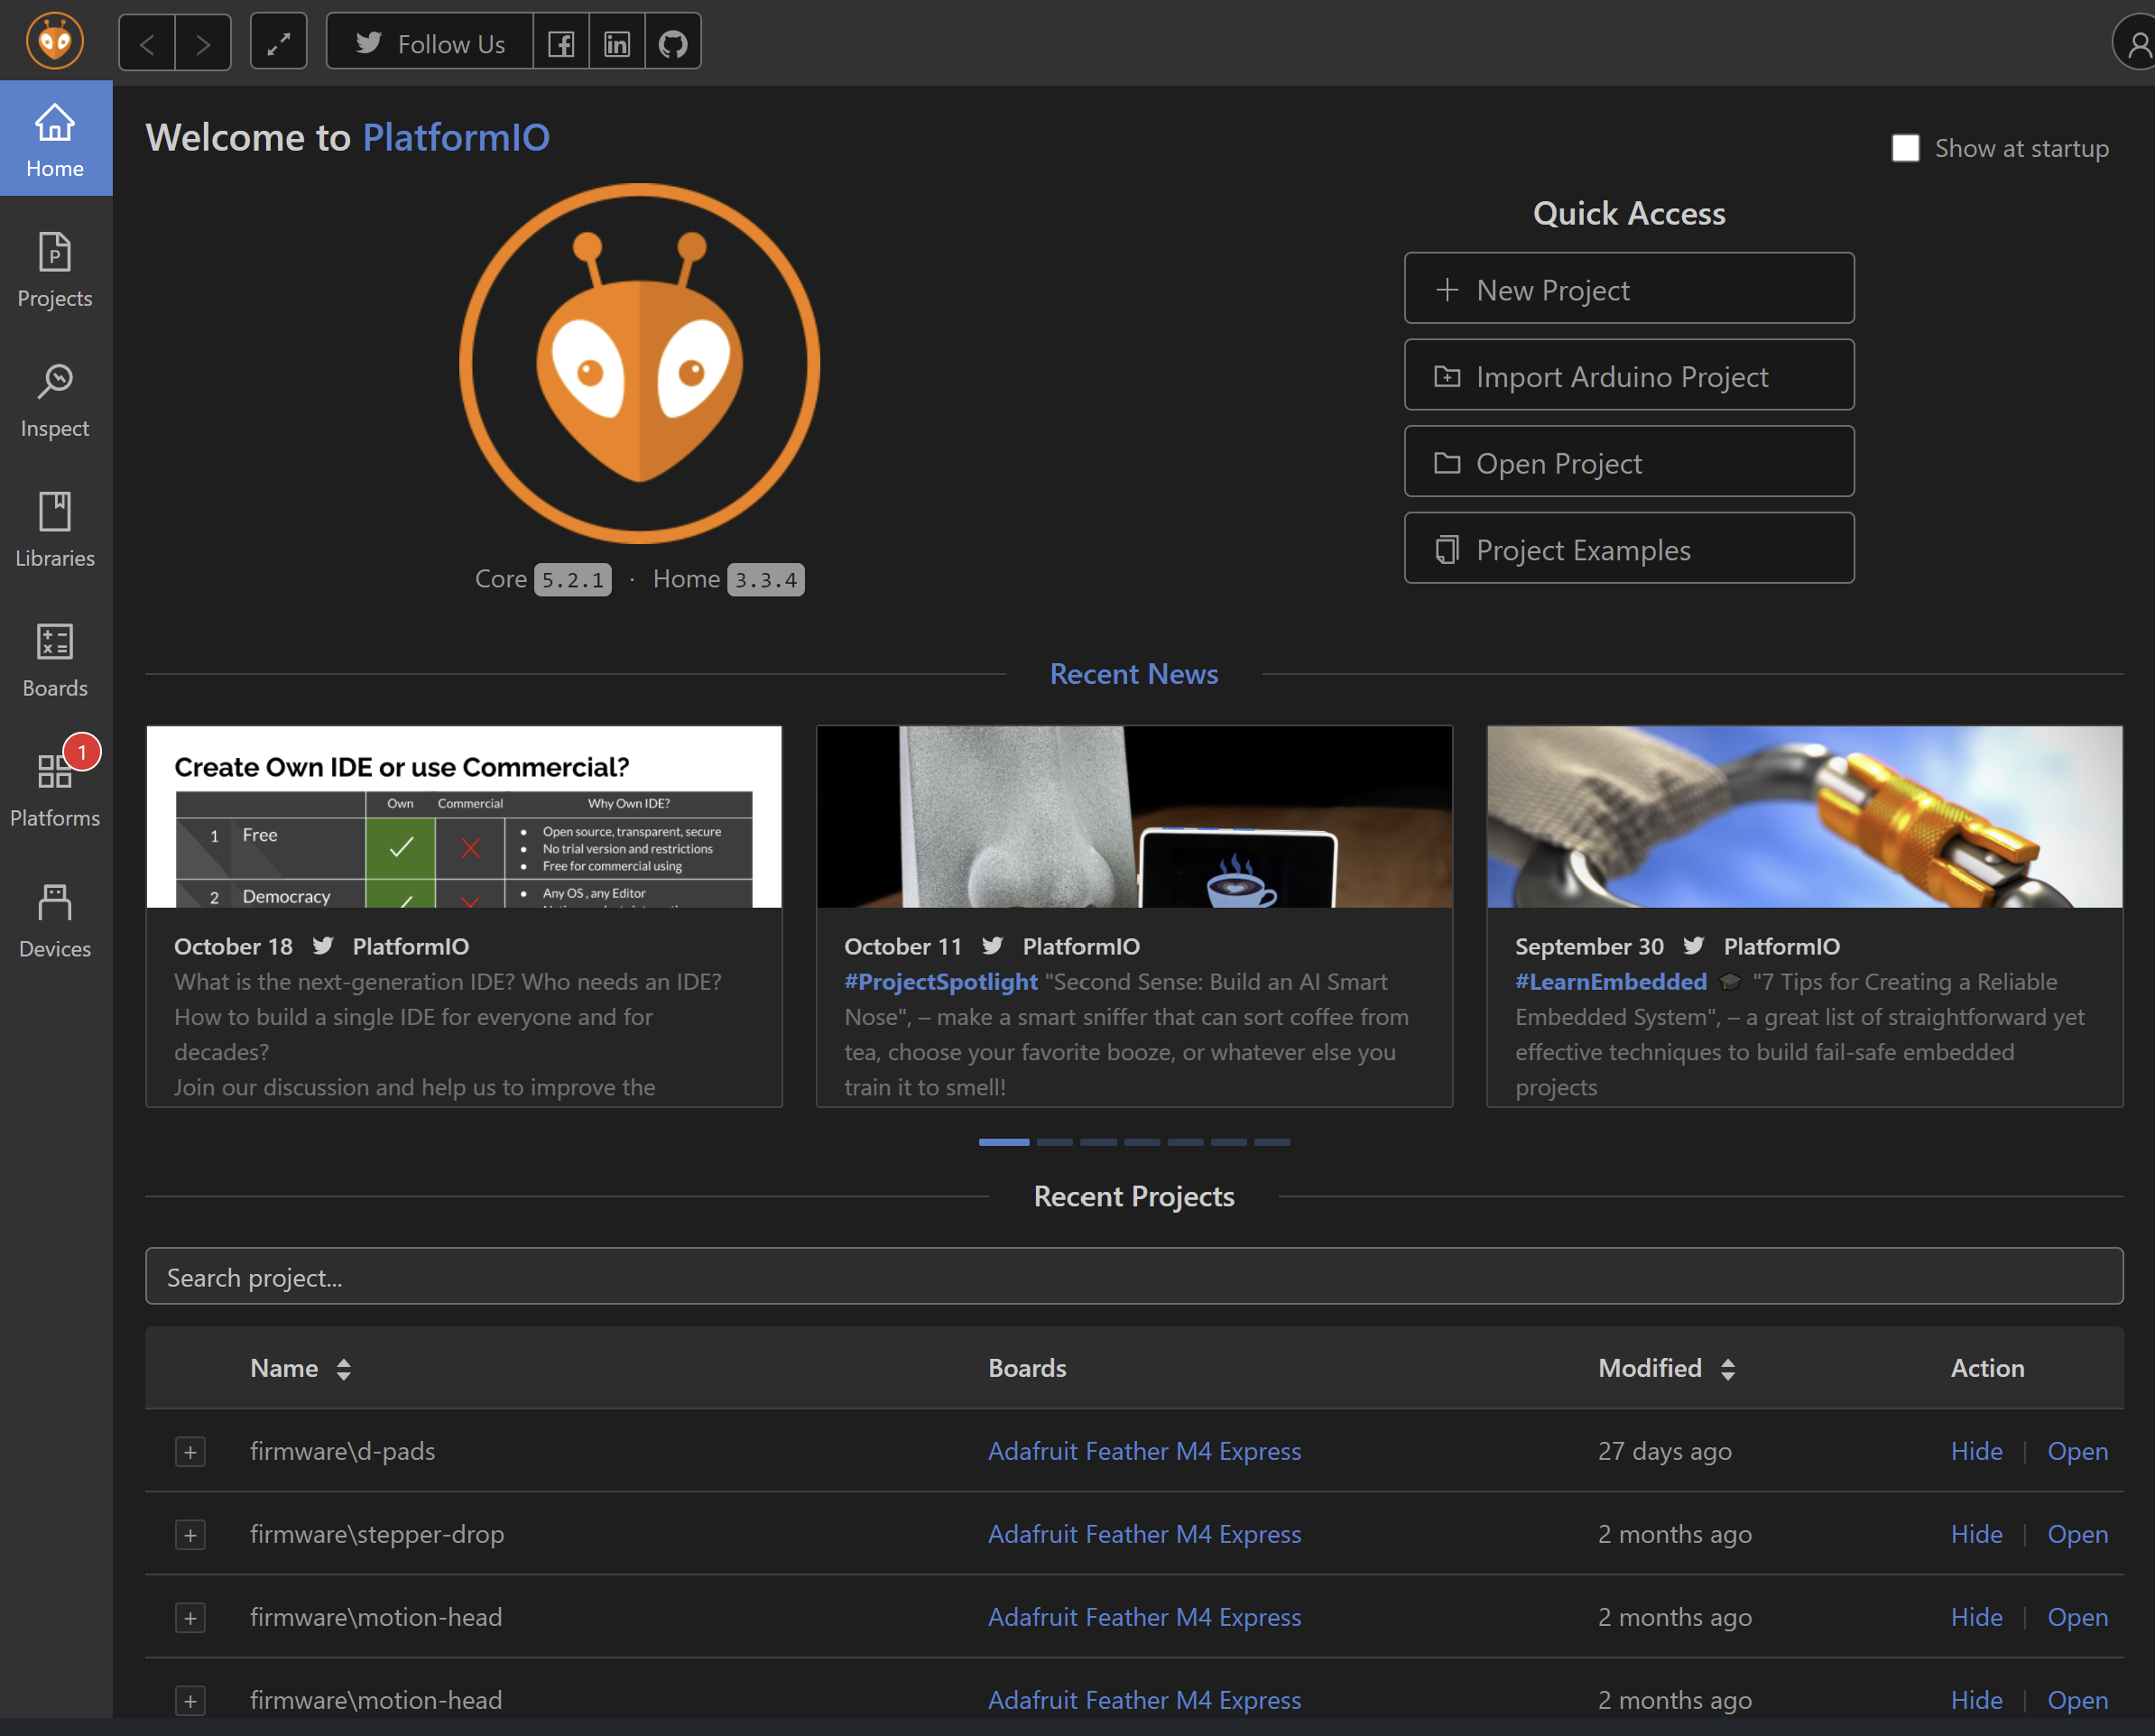
Click on + new project and give it a name, select the board Adafruit Gemma M0 or Adafruit Feather M4 for these two - and optionally store those files somewhere explicitly (deselect use default location) which is especially useful when you want to publish that code to git!
Now you’re at the programming blank slate again, bless!
- use
ctrl + alt + bto compile code - use
ctrl + alt + uto compile, then upload code- it should auto-detect the board when it’s plugged in to usb
- if it says
please specify upload_porteither your USB connection is dicey or the bootloader is not present on the board
- use
ctrl + alt + sto open a serial port monitor
More documentation is here on PlatformIO’s site.
5: Pin Mapping
As I mention in the arduino fab toolchain guide, these ‘platforms’ / dev boards do some mysterious pin mapping. I won’t explain again, read this here please.
Since we are in this case pretending our SAMD51 is a Feather M4, or the SAMD21 is a Gemma M0, we absorb their pin mappings. I am assuming the reader of this doc is more versed in embedded programming, so I will leave you with the ladyada docs that show these mappings:
Since the gemma and feather only break out a selection of these pins, the move is to program from the datasheet. At this point, the guide here is done: we have set up our boards. For programming examples / beta, I can point you at:
- Arduino ‘variant’ codes:
- the
variant.handvariant.cppdo at least some elucidation on how ports / etc can be accessed - Feather M4 arduino variant code
- Gemma M0 arduino variant code
- the
- SAMD51 hello-world
- we try to maintain this with programming notes for the chip, and some build examples.
- fab-step ATSAMD21 firmware
- includes the use of timers, UARTs, and pins
- ucbus-stepper ATSAMD51 firmware
- includes the use of DACs, timers, UARTs, SPI, and pins